Sourdough Bread
Originally posted on Jan , 30th
Now we’re on to the real stuff ! Baking sourdough bread . You now have the seed that you store either on the counter if you bake a lot of bread , or in the fridge if you bake bread say once or twice a week , like me . And you have made the mother starter or the preferment , whatever you want to call it . Now we can bake bread .
Except it’s not quite that simple and fast .. well the ingredients are simple , you can create bread from just water , flour , and salt . That’s pretty much it in sourdough bread . You don’t even need milk , butter or eggs . It’s magic ! The non sourdough bread will need instant or dry active yeast in the package that you can buy from the store , and it will take probably an hour to double after you mix your dough , and then shape and let it sit for another 30 or 60 minutes to double in size then bake . So regular bread , will take approx. 3 hours to make give and take .
How about Sourdough bread ? Well sourdough bread baking is like testing your patience , it doesn’t take a lot of your time , it just a few minutes here and there , and a lot of them are waiting , you don’t need to sit and watch it but you can leave them and 4-7 hours later you can handle it or do whatever you need to do .
So , planning ahead is a must when making sourdough bread . The preferment recipe was from MaryAnn’s www.jaklamas.com
This is what i mixed to make preferment :
1/3 of the sourdough seed
2/3 cup of lukewarm water
about 8 oz or 1 1/2 cup of all purpose flour
Mix this well and let it sit until doubles , might take 4-8 hours or less , depending on the temp .
Once this is done , you can either go store it in the fridge , or use it right away . The longer you store it in the fridge , it will increase the degrees of sourness in your bread . So if you’re like me , don’t like it super sour , then you better be off using it right away or after 2 days . I did not have patience during my first time because i wanted to make them NOW ! lol .. so i did , there was slight sourness / tang still , even though i used it right away .
When you’re ready to make them , you need :
All the preferment you just mixed ( or you can half this if you want to only have 1 loaf of bread , the recipe results in 2 loaves )
1 2/3 cup of water
4 1/2 cups of all purpose flour
1 tbsp. of table salt
Mix all these together with wooden spoon then switch with your hand until smooth , then form into a ball and place it on a lightly oiled large bowl . Cover with plastic , and then let it proof , it takes about 4-6 hours .
Once it has done the bulk fermentation / proofing the first time , you can either store it in the fridge for whenever you ready to bake or shape it and bake today .
So if you need to bake , say tomorrow morning , you can shape it , and place it on a loaf pan overnight to do its final proofing in the fridge , they won’t double in size as fast , it’s going to be slow growth , but once you bake it in the oven it springs up really good , so no need to put it on counter to come to room temperature before baking it . Straight from the fridge in the morning after your oven heats up to 450 F for half an hour , i put my bread in right away , and you can score it better when the dough is cold .
This is how they looked like from overnight proofing in the fridge to 450 F oven heat up for half an hour , then baked for 5 minutes and turned it down to 425 for the next 25 minutes .
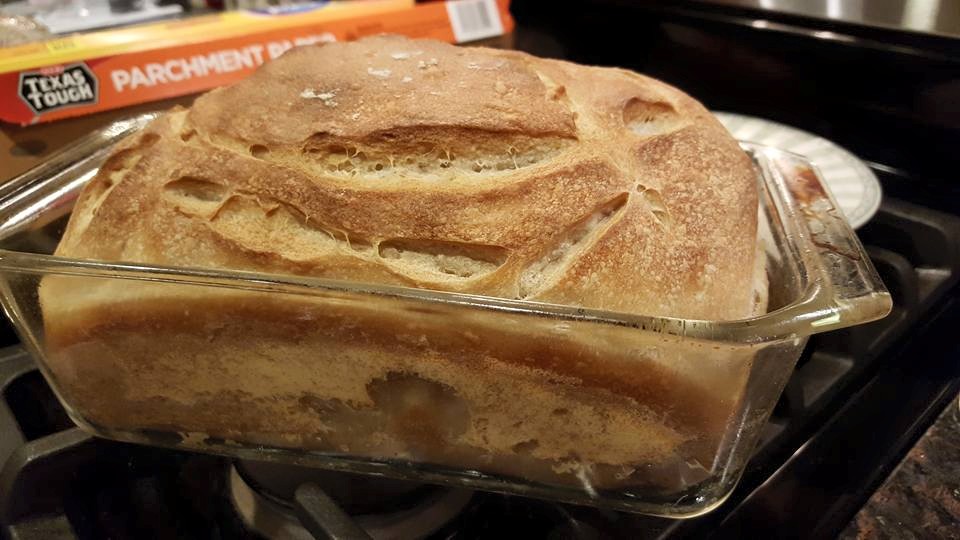
It has what they call ‘oven spring’ because after overnight in the fridge , that dough wasn’t that high before i put it in the hot oven . So that would be my preferred method . I did try some other method , which resulted pretty good too , but i started making the dough early in the morning , about 6 or 7 am . Then letting it proof first time , and about noon , the dough was ready to be shaped , and then final proof about 3-4 hours and then baking them .Now if you don’t have to go out or anything else to do , this would be okay , but otherwise the overnight is the best method . Because you will be sleeping while the dough is doing it’s final proofing and it doesn’t take too much of your time . By the time you’re up , your dough is ready to be baked .
Update , Feb , 1st , 2016
So , i decided to order a banneton for me , it’s a wicker basket , that you use to proof your bread , in its final proof . Before i had banneton , i used glass bowl lined with light oil and parchment paper . I was excited over the weekend of getting this banneton , i bought it from amazon , it’s not bad price $12 , and if you love bread baking like me , i am sure you wouldn’t mind getting this wicker basket .
Made the dough right after church yesterday , it was around 1.30 when i put the dough together . I just wanted to try this banneton , to see how it works . First proof , then second proof i left it overnight , using banneton . I made sure i sprinkle generously with rice flour . Rice flour is a must in my asian pantry , so it’s not an extra thing where i had to go get it .. i had rice flour on hand , and sprinkled it on the banneton and placed my boule on it seam side UP . Then i lightly oiled a plastic wrap and covered it loosely , and place it in a grocery bag and proofed it overnight in the fridge .
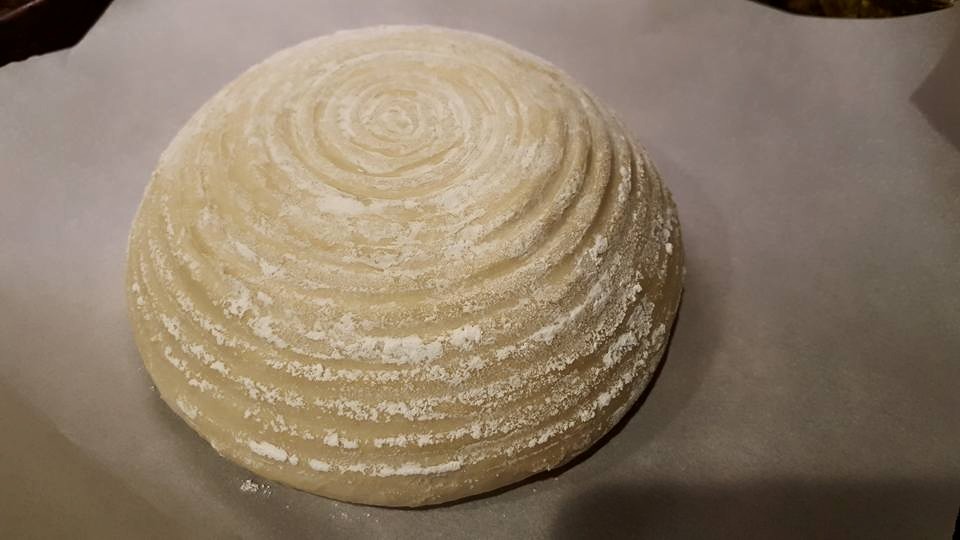
So here’s my boule in the morning after proofing its final stage in the fridge overnight . It was about 12 hours in the refrigerator . I peeled off the plastic wrap easily , but carefully , i didn’t want any tear on the dough . Looked pretty good to me .

And i flipped it over / inverted it cookie sheet lined with parchment paper . The rice flour all over the banneton actually helped with no sticking . And i was very happy with it . See how cool it is with banneton , this you will not get with regular glass bowl obviously .
Then i scored the boule with razor blade .
A note , i decided to try to bake it with dutch oven as well . So right after i woke up , i preheated my oven up to 500 F , and i placed my dutch oven lightly oiled , with the lid on , inside the oven . Yes 500 F .. it has to be screaming hot .
You might want to make sure your dutch oven can handle 500 degrees heat . Mine is from food network and it does handle the 500 degrees heat well .
So , back to my boule that was sitting on the cookie sheet lined with parchment paper . The boule now is ready to be scored , i had to work quickly with scoring . And as soon as i finished , i grabbed the parchment paper , and lowered the parchment paper with boule into the screaming hot dutch oven .
Preheat the oven for an hour at 500 F . I used convection
Lower the bread into the dutch oven carefully , close the lid . Turn oven down to 475 F , baked for 20 minutes .
Take the lid off , turn down temperature to 450 F and bake extra 30 minutes .
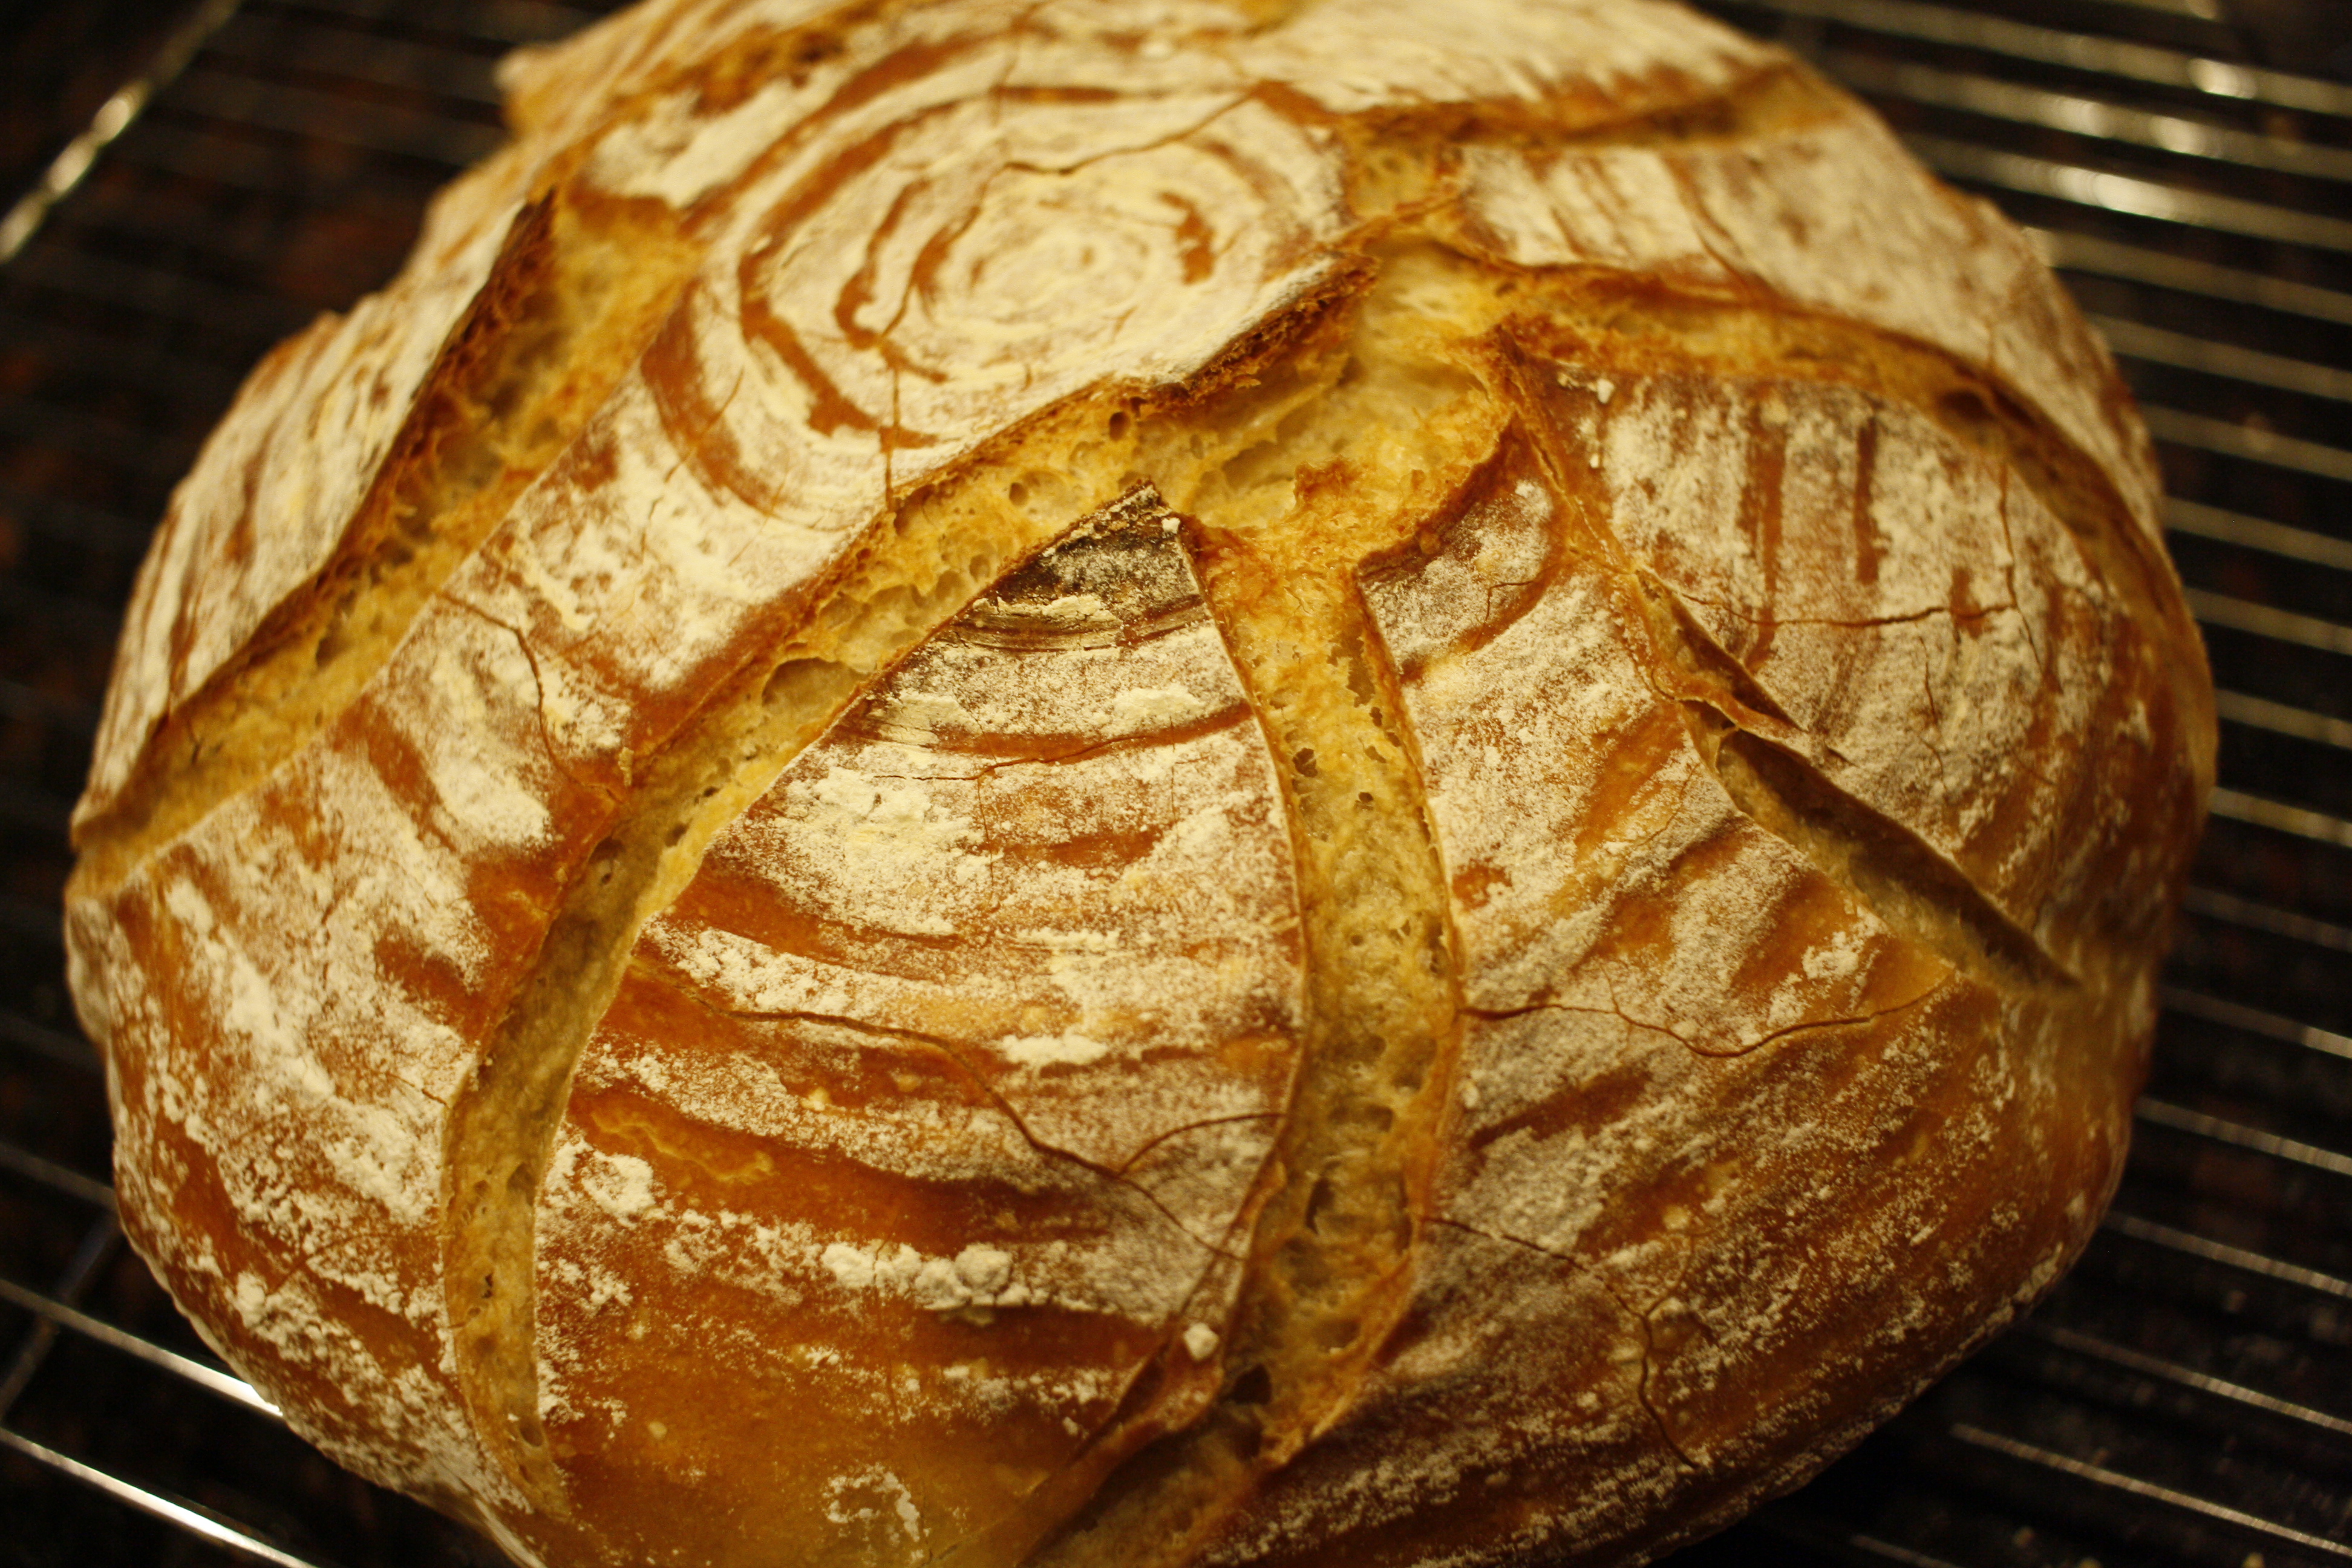
The result was .. THIS …
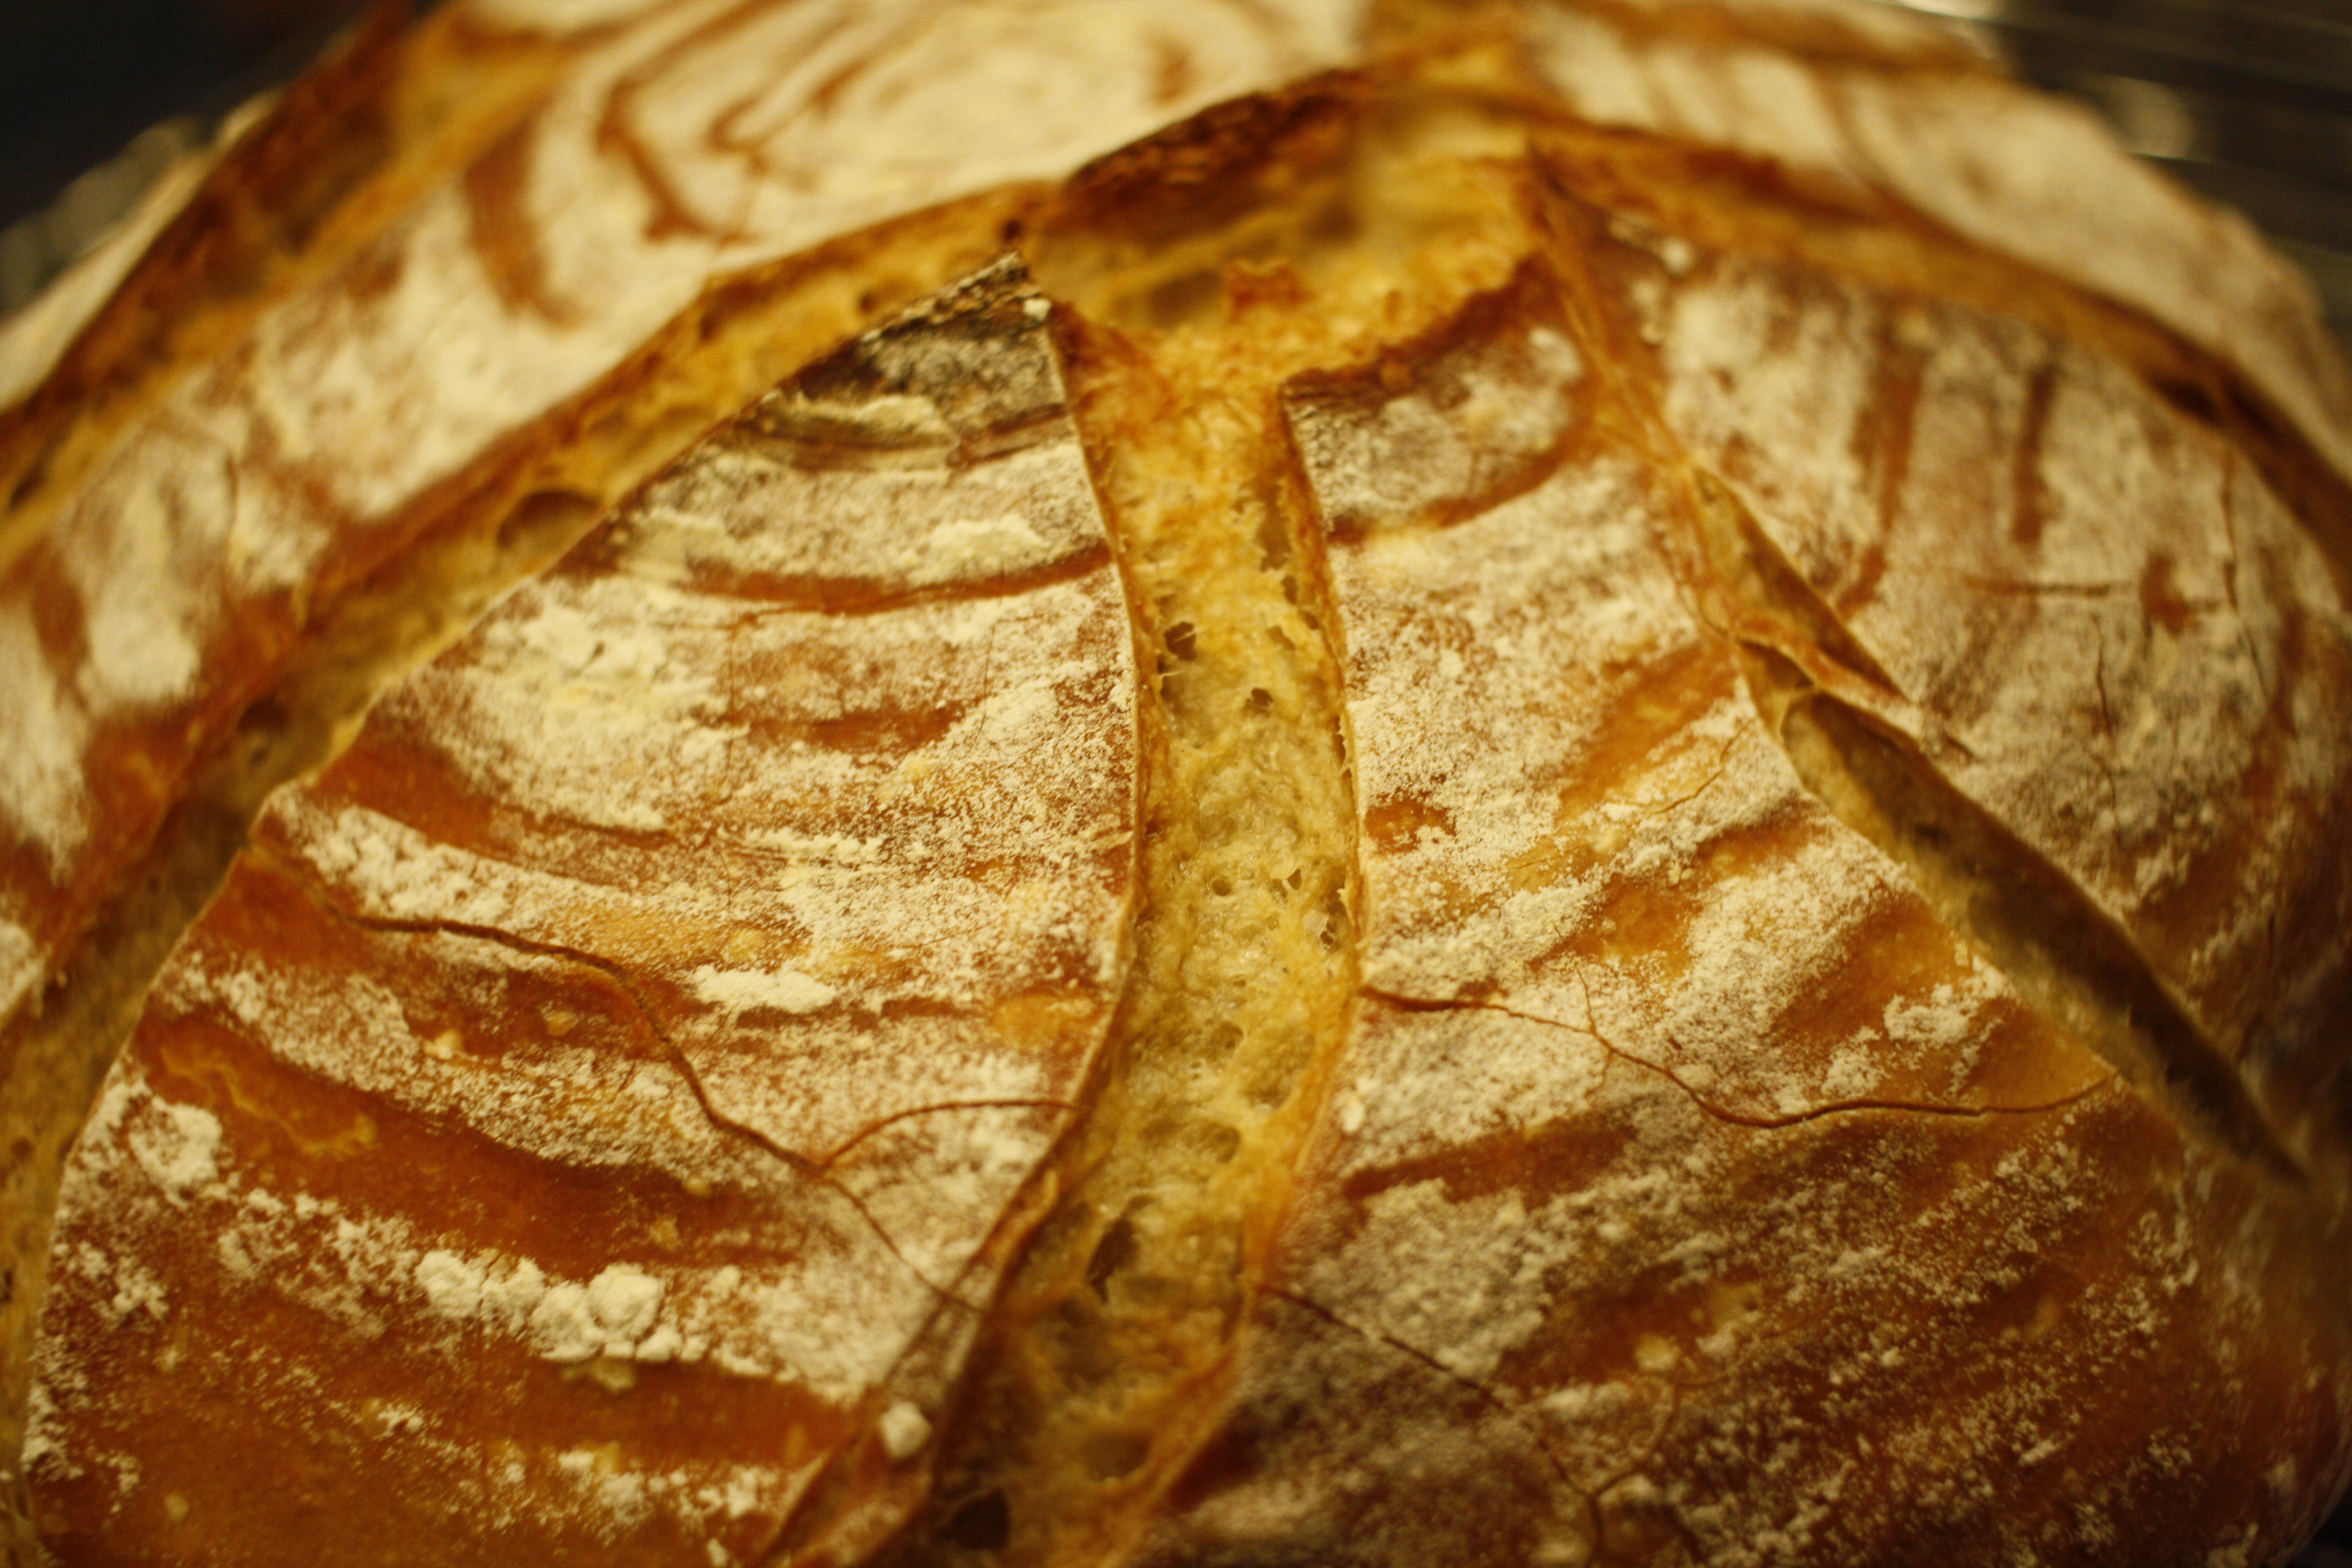
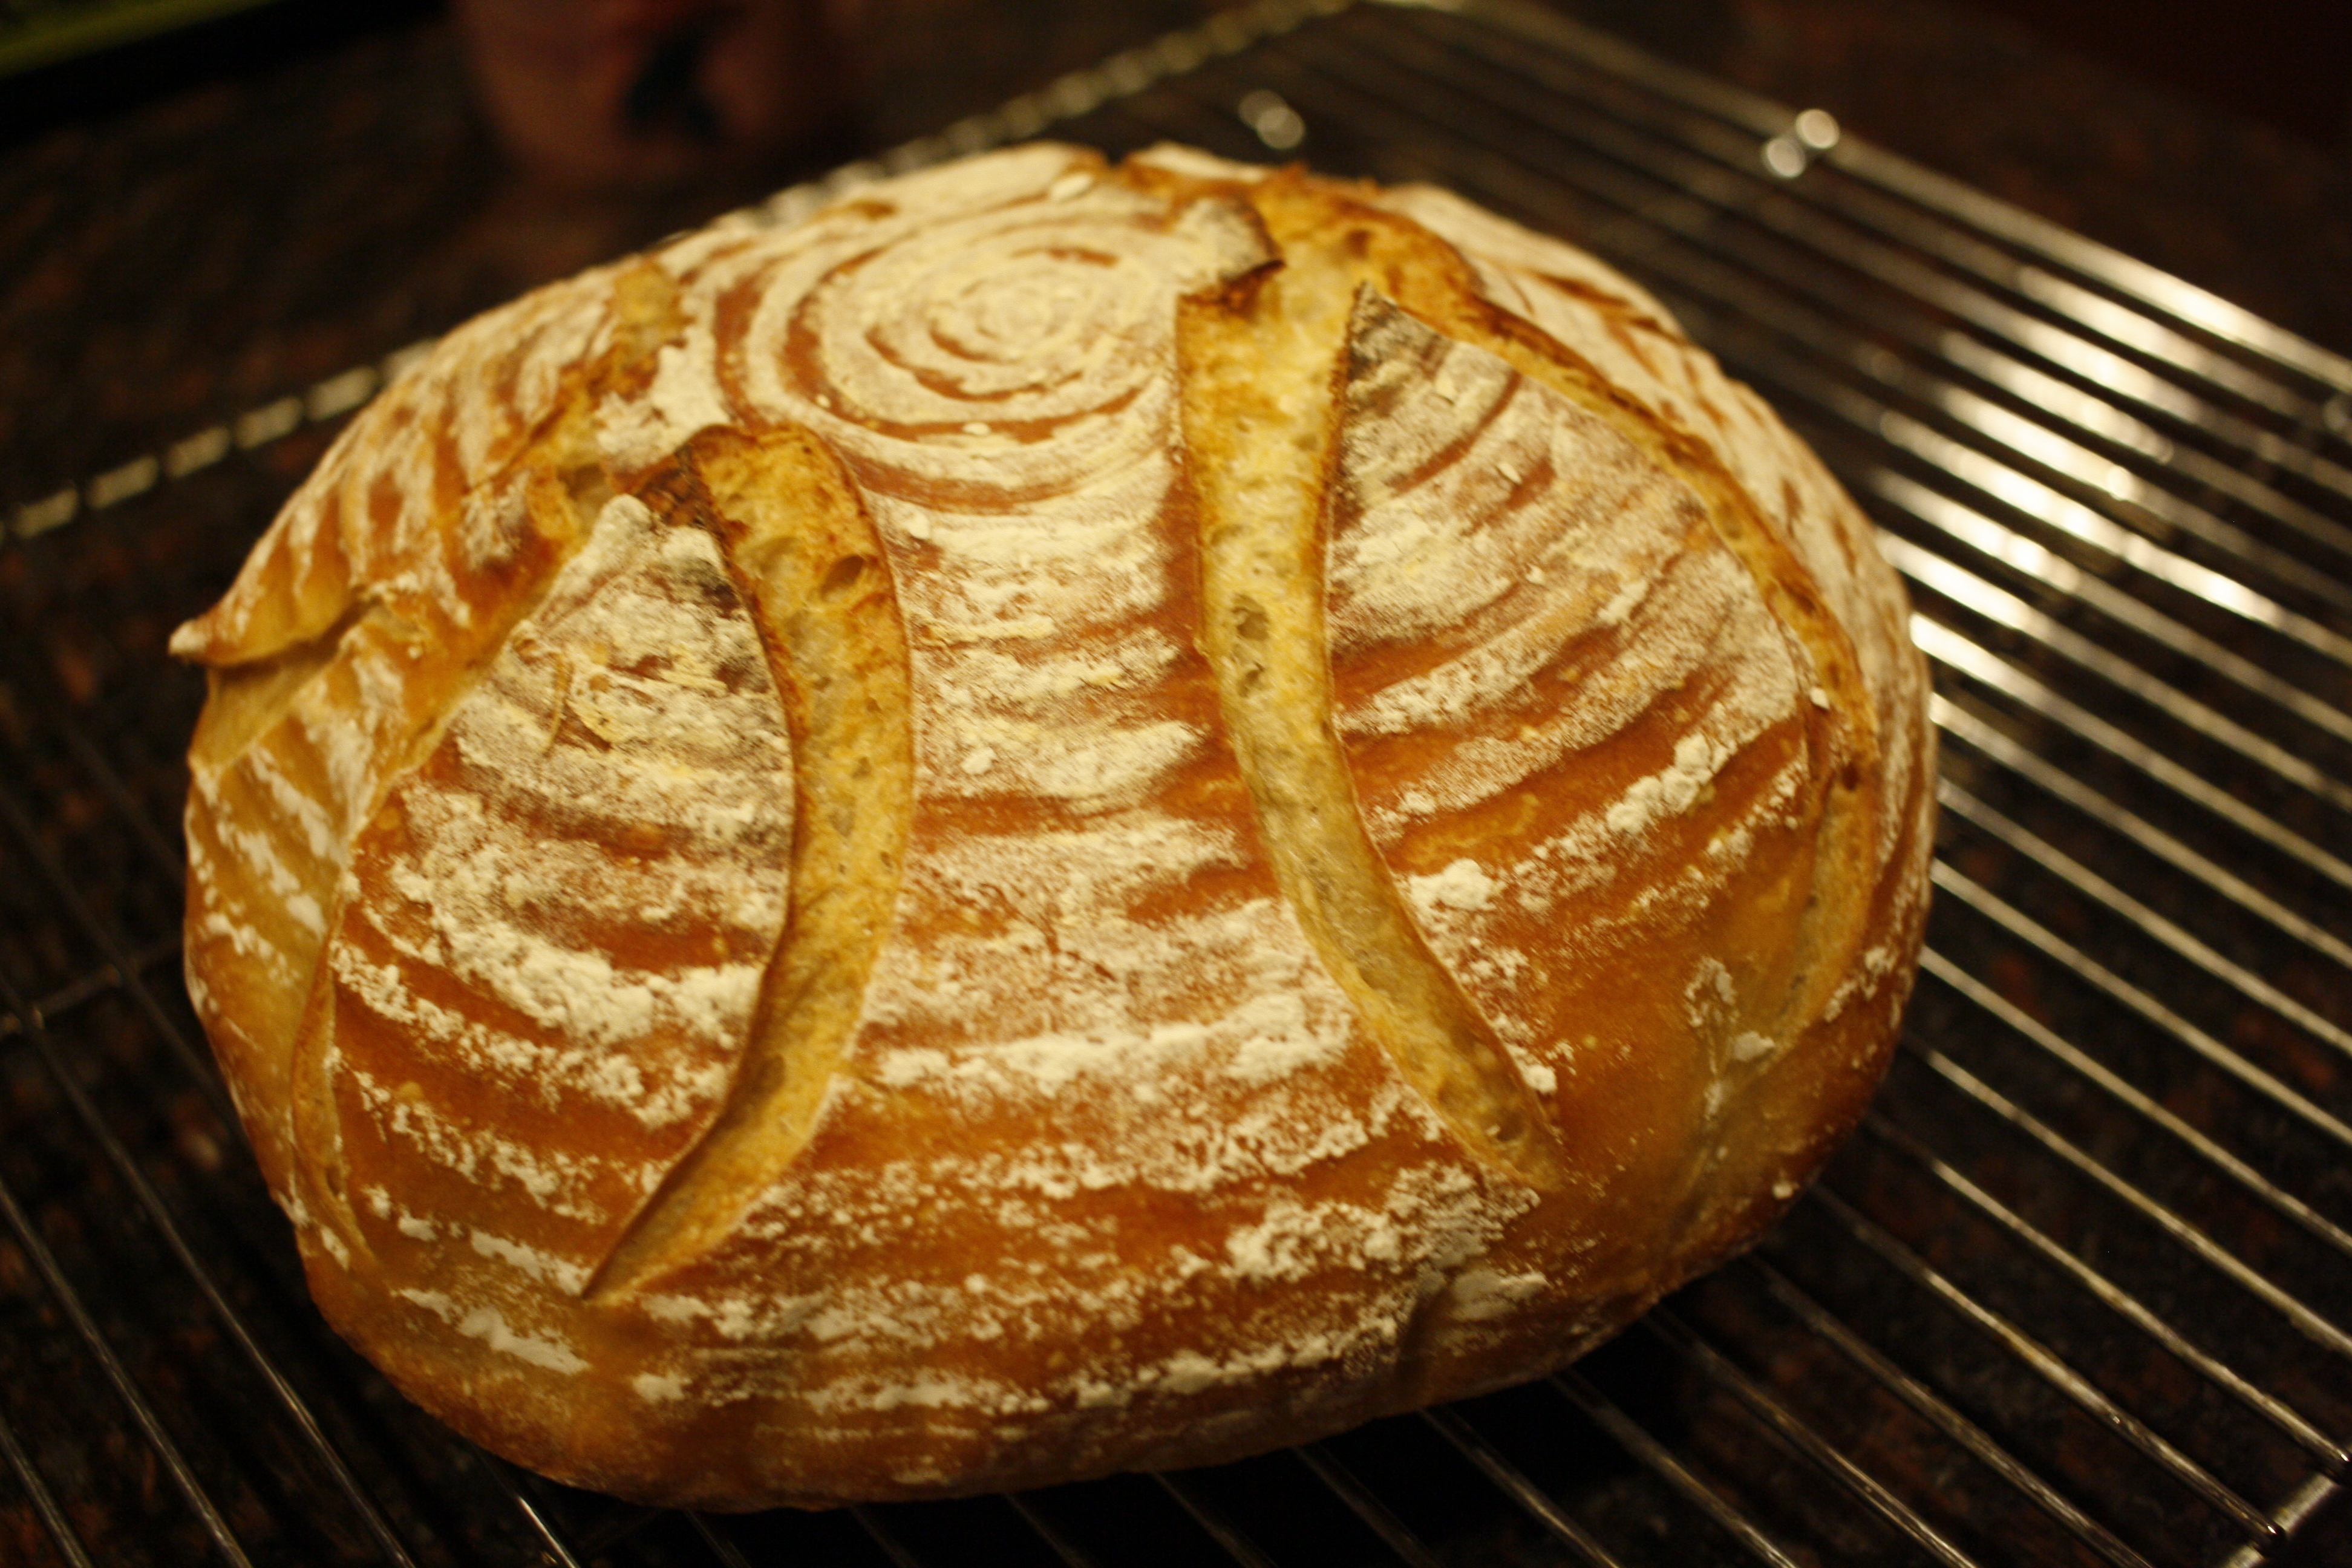

Isn’t it beautiful ? I was so happy , the crust turned out so beautiful , then the scoring i did was not bad at all ( imo lol ) , and oven spring and it smells wonderful .
As beautiful as it is , i decided to give the bread to a neighbor friend , they’re an older couple , used to own a restaurant in Austin , he wasn’t feeling well , but he loves bread , while she loves sweet stuff . So , i gave this boule to them , and we sat down had a cup of coffee and slice of sourdough boule , they loved it , they said it was delicious and i thought that too . LOL ..
So that’s pretty much my journey in creating a perfect , and beautiful looking sourdough bread , that probably ( almost ) looks like coming from a local bakery . Here’s to #artisanbread , very fun to create and i really enjoy every moment of creating this . In sourdough .. patience is a virtue !!
Update : January , 2017
Experimenting by adding more water , higher hydration , there will be more holes in the bread . Stretch and fold gently instead of kneading like regular bread . I did not measure how much water i added but will try more water next time to see if it helps .