Fresh Pasta
This is not a recipe entry or a technique , just an entry to share about these amazing pasta rollers . My husband got me these pasta rollers attachment for my Kitchenaid for Christmas . Being a curious person that i am , plus that i have been obsessing with home made pasta the past few days , i could not wait to put my hands on it . I knew a little how to make noodles , pasta , but of course not as perfect as a machine can help you pressing the dough very thin .
This afternoon while he was out with our son , i was busy in the kitchen , trying this machine . I made the dough , being the first time using this machine , i followed the recipe for the dough . I thought if i ever going to experiment with recipes , i shouldn’t do it now , because i need to know how this machine works . Well , the recipe the instruction book said to mix 4 eggs , 3 1/2 cups of flour and 1 tbsp. water and pinch of salt . I mixed it in the bowl with the paddle attachment the book said , and the pasta was super dry , it didn’t come together at all and it was very much crumbles . I thought i had put too much flour , maybe i wasn’t paying a close attention when i measure the flour ? Not sure if i had made a mistake , i put aside that dough , and moved on to make a new one , saving the other one on the side . I started putting together a new batch , well so much for it , because the same thing happened , i guess my house was very low in humidity , so i thought adding few more tbsp. of water might work . Well it did .. so i did the same thing with the first batch i made , i added about 2-3 tbsp. more of water , and they came together nicely .
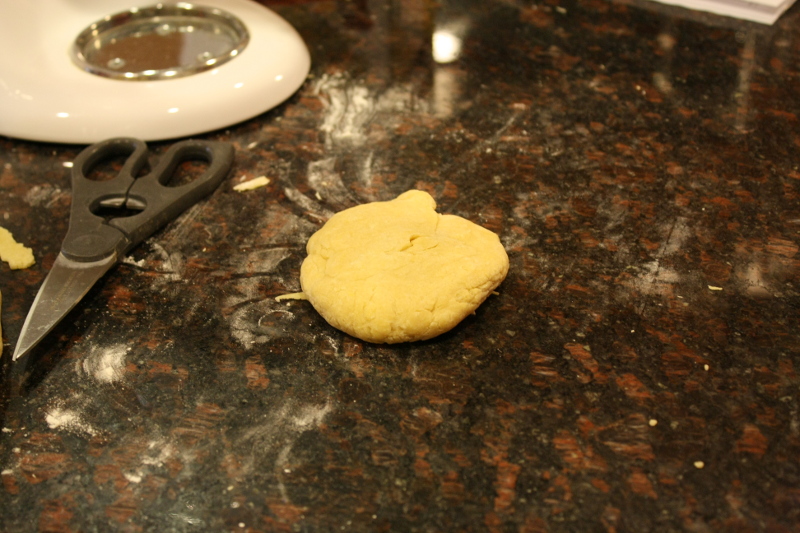
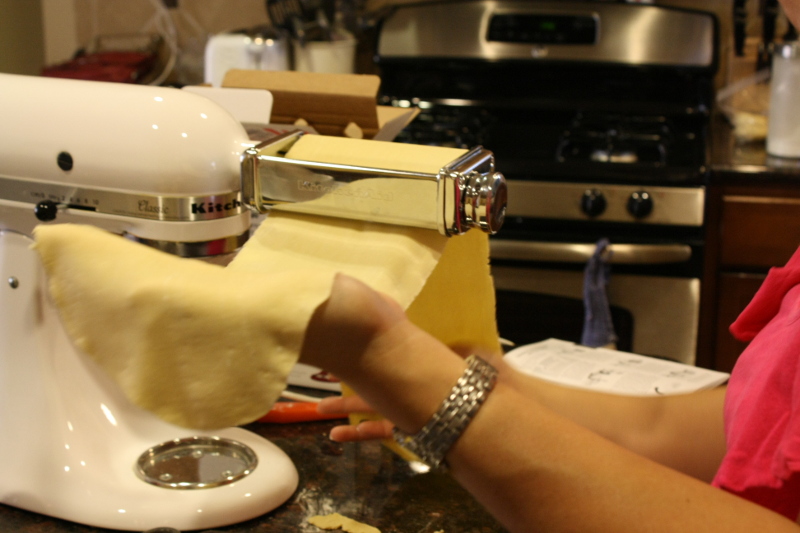
I started getting my pasta press/roller ready and i divided the dough into 4 or 5 smaller pieces . And then i flatten the dough , that it will fit into the pasta press . There is this knob with number on the side of the roller , 1 being the biggest and thickest pasta , and as the number gets higher the thinner the pasta gets . The first time you put the pasta dough in , it will come out just okay sometimes cracks here and there , and fold it once it’s all out , and run it through the press few more times , folding each time before feeding it back into the pasta press . Eventually you will come up with a smooth silky pasta .
Step 1 : Divide the dough into 4-5 smaller pieces , before feeding it into the press / roller , flatten the dough , so that it’s thin enough to be fed into the press/roller .
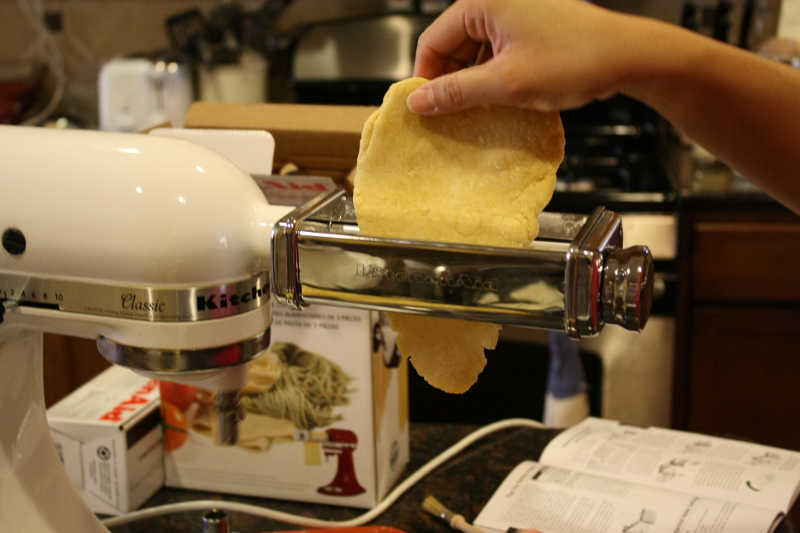
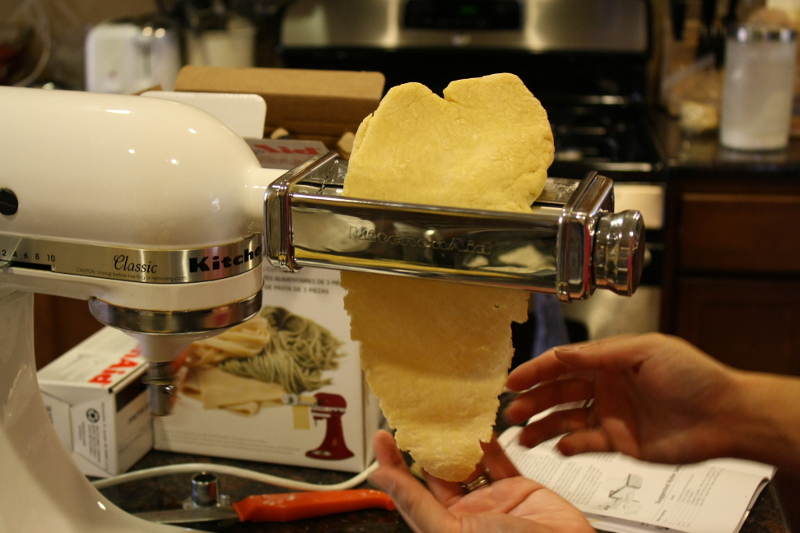
Step 2 : Start feeding the flatten dough into the press/roller with the speed at 2 or 4 , since it was my first , i felt comfortable enough with speed 2 . Don’t be alarm when the dough comes out not that pretty smooth , and cracks here and there . Just make sure once it’s all out , fold it , and run it through the roller / press again , at knob number 1 .
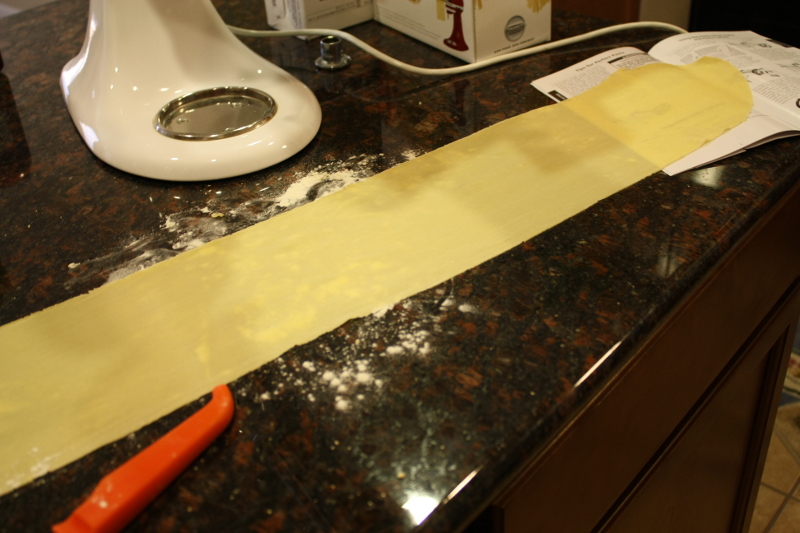
Step 3 : Once you think it’s smooth enough , after folding and feeding it at number 1 , you can start changing the knob to number 2 , for thinner pasta .The higher the number , the thinner the pasta will be and the longer it will too . Feed it , don’t need to fold it .
Step 4 : Change to knob 3 and so on , to make it even thinner , for fettucine and spaghetti , the pasta is going to be thinner and longer at this point , you might have to start laying it on the surface , or start cutting them in half .


Step 5 , Turn to knob 5 , for fettucine and spaghetti . Get ready to cut them in half . Or you already did .
Step 6 . Cut them in half , sprinkle with flour just in case you lay another pasta on top it won’t stick .
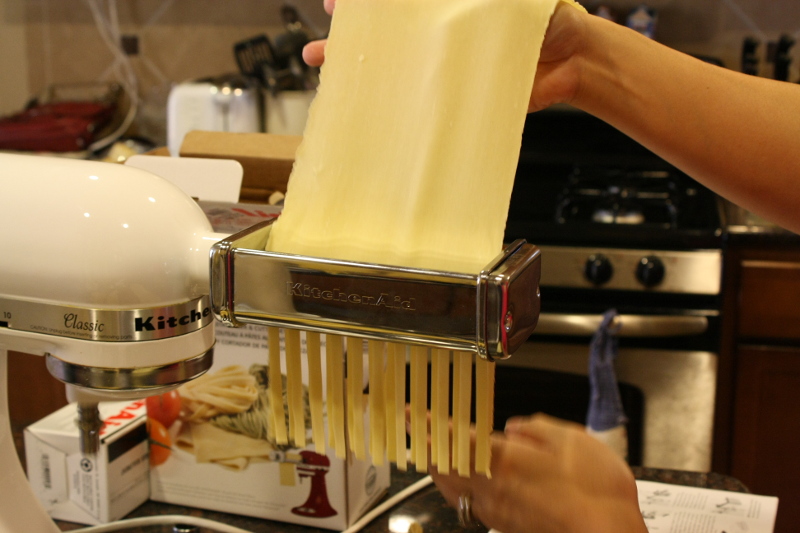
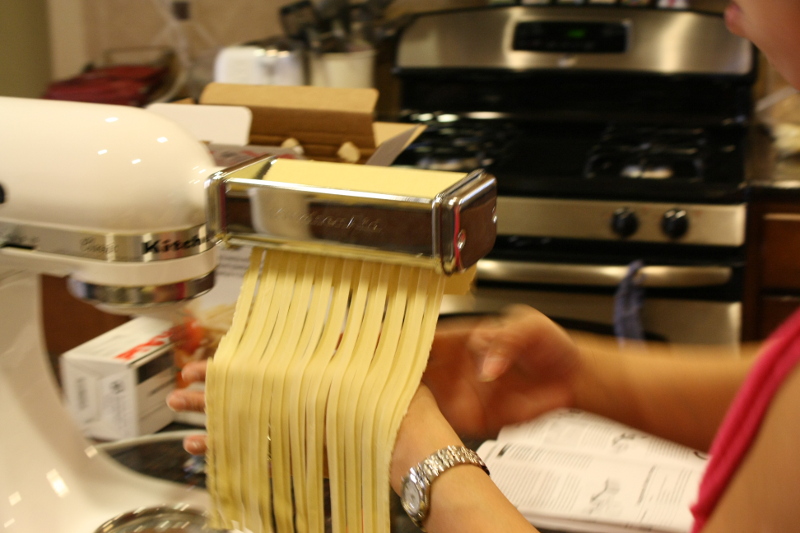
Step 7 , change the pasta press to fettucine cutter or spaghetti cutter , feed the thin pasta into the roller , and you can lay it to dry or hang it or make a nest , or use it right away ( boil in water for 2-3 minutes al dente )
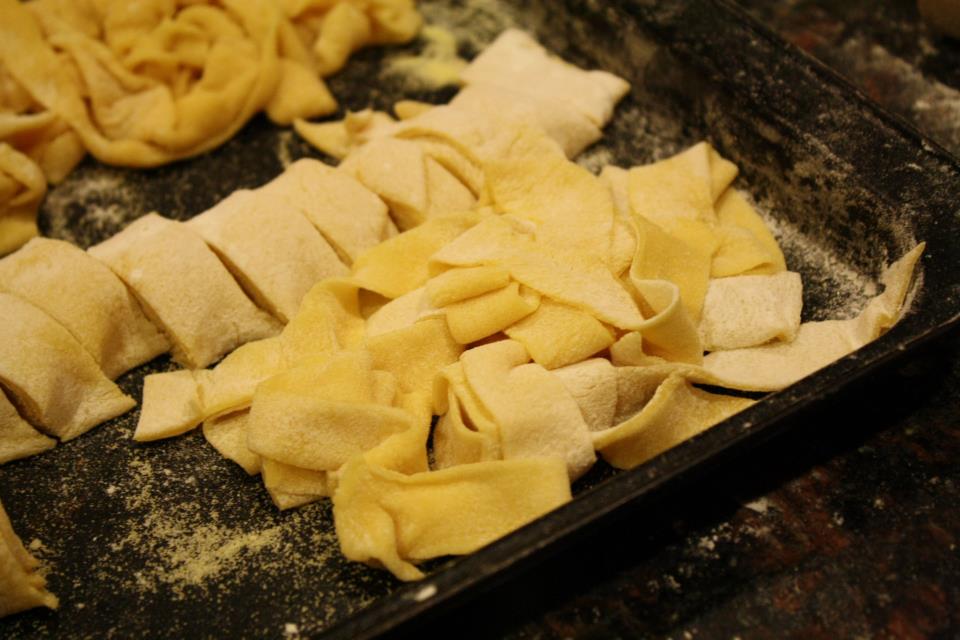
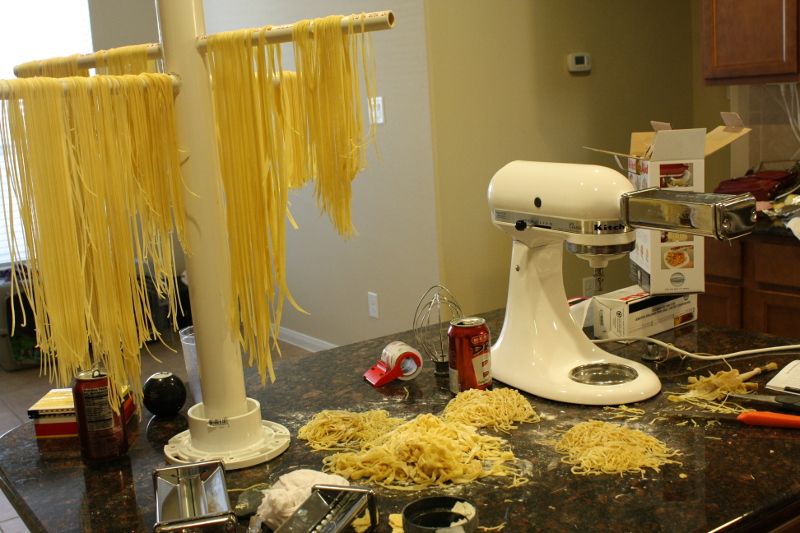
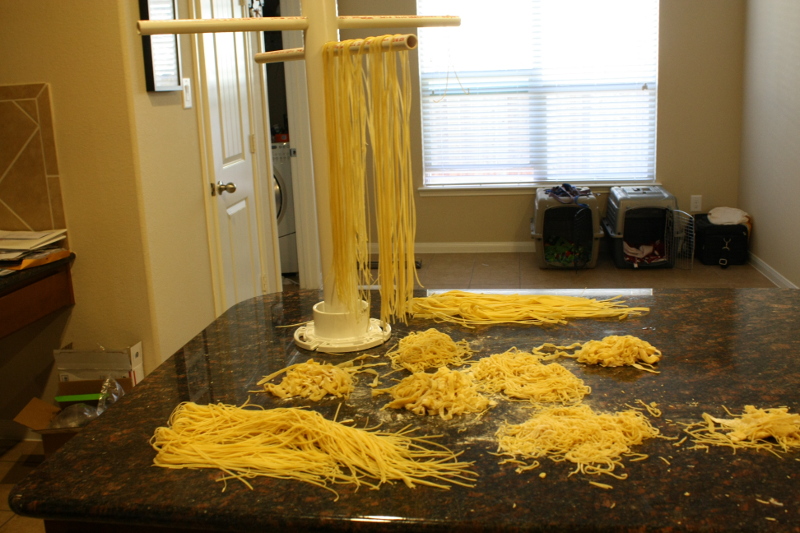
I hung some of them on the pasta hanger ( my husband made this for me , they’re heavy duty and quite long , so i have some really long fettucine or spaghetti ) I hung them dry about 1 hour . Some of them i left it on the counter , like a nest , sprinkle with flour . I think i prefer hanging them because you know it’ll dry quicker than shaping them into a nest .
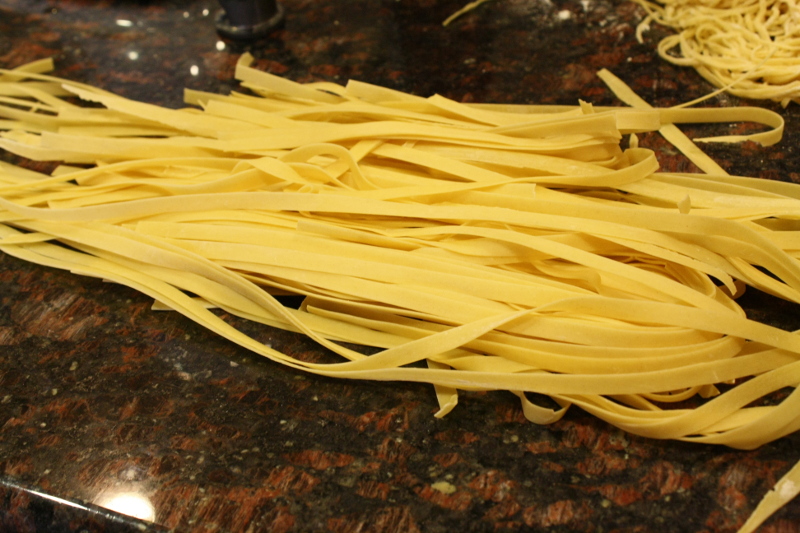
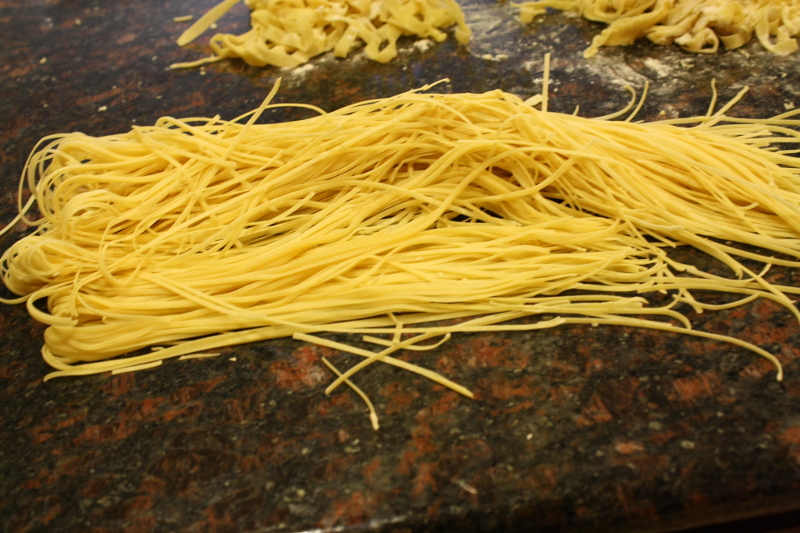
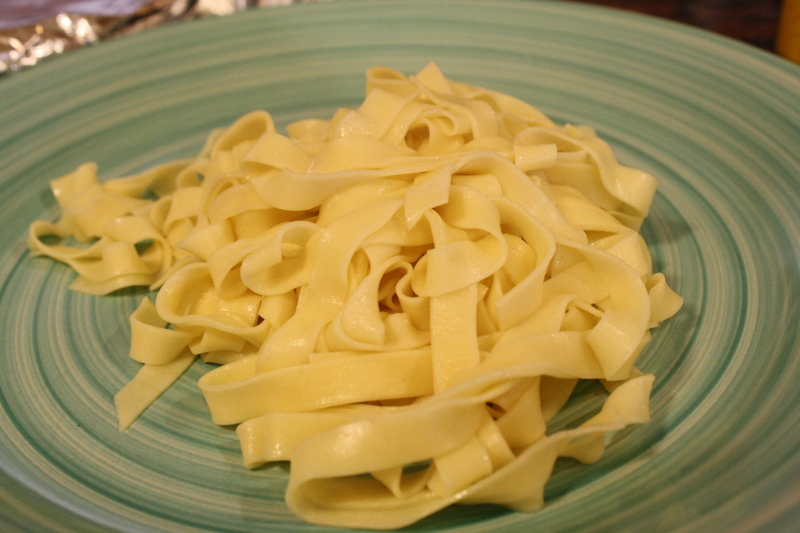
This is the Fettucine and spaghetti that’s been dried for an hour , ready to be stored .
You can also use your pasta right away , bring water to boil , add plenty of salt , and then cook the pasta for about 2 minutes and 30 seconds or 3 minutes , depending how thin or thick your pasta is .
I think this attachment is really amazing , it makes pasta making a lot easier , a lot more fun , thousand times better than the other pasta plates that comes with the meat grinder for kitchen aid also . This one is not frustrating at all , and i can’t say anything else , it’s just a great buy to people who likes making home made stuff . I do !! I love making everything home made and this was a very nice gift . I read some review on the website that some people are having troubles cleaning it , i don’t have trouble cleaning it so far , i just let it dry and using the brush , eventually the dry pasta that got stuck on the edges would eventually come off . All and all i have to say , if you love making home made pasta , i think you have to have this !